Receiver Setup and Animation
Before starting to receive the motion data from ReMoCapp, make sure to set the Port value. The value should be the same as in ReMoCapp in the Output Stream section.
Character Setup
Blender ReMocapp character is available for Blender. The character is included in the zip file you downloaded as described in the Addon Installation page. You may import the character FBX file in a Blender scene. When importing, accept the default settings. Alternatively, you can use the provided sample Blender scene file with the character already included.
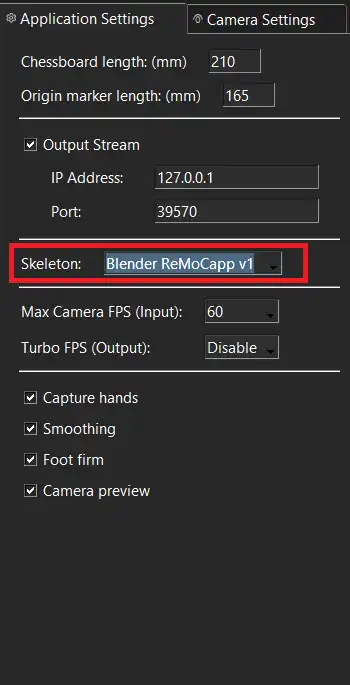
Next make sure that Blender ReMoCapp v1 is selected from the Skeleton dropdown under the Application Settings tab in ReMoCapp as shown below.
Starting the Receiver
Before the motion receiver can be started, the armature that receives the animation must be specified. In the Blender addon, locate the Armature property and pick the armature imported in the scene from the previous step. Now, click Start Receiving to begin receiving motion data from ReMoCapp and applying it to the specified armature object.
By default, the animation of the character is not recorded. If you want to record the animation data and later export it as FBX and BVH files, make sure that Enable Recording is marked.
Moreover, the FPS property indicates the frame rate of the recording animation.

Exporting the Animation
Once you are finished with the animation, click Stop Receiving. If the Enable Recording option has been checked, then the animation data will be created for the character. You can replay the animation using the timeline in the viewport.
Moreover, the character with the recorded animation can be exported to FBX and BVH files using the Export FBX and Export BVH buttons respectively. Doing so, a dialog will open letting you to specifiy the output file path.
Reset Pose button can be used to make the character go back into its default pose before any animation had been applied.